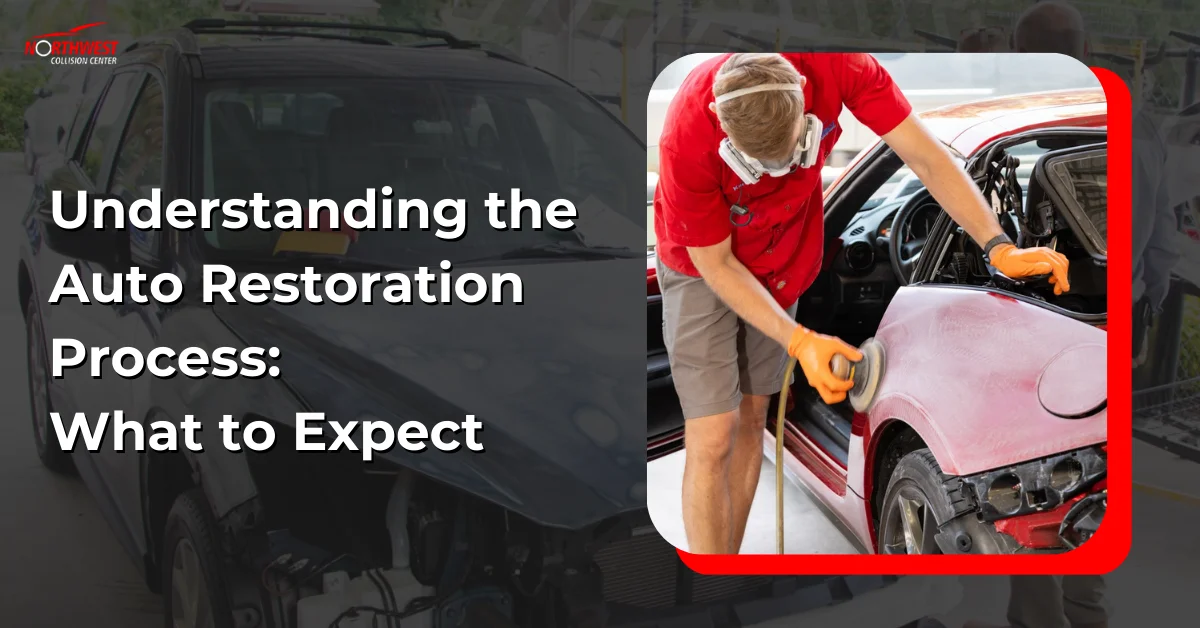
Understanding the auto restoration process means you’ll go through several key phases. You’ll start with planning and assessment, evaluating the vehicle’s condition. Disassembly follows, where you’ll document and label each part. Then, it’s time for restoration and repairs, focusing on quality and performance. Finally, you’ll reassemble everything to restore the vehicle’s look. Throughout this journey, patience and care are essential, so stick around to explore each step in detail.

Key Takeaways
- Assess the vehicle’s condition thoroughly to identify necessary repairs and create a prioritized checklist for the restoration process.
- Document and label each component during disassembly to ensure a smooth reassembly phase.
- Focus on quality repairs using high-grade materials to preserve the vehicle’s original charm while enhancing performance.
- Pay attention to detail during reassembly to achieve an esthetically pleasing final result.
- Patience and careful planning are essential throughout the entire restoration journey for successful outcomes.
Planning and Assessment
Before diving into the auto restoration process, it’s important to assess the vehicle’s condition and plan accordingly. Start by examining both the body and mechanical components, noting any damage or wear. This will help you determine what auto restoration services you’ll need and which auto restoration parts are required. Create a checklist to prioritize repairs, ensuring you don’t overlook anything vital. It’s also wise to establish a budget and timeline, as these factors can greatly impact your project. Researching reliable suppliers for parts and services can save you time and money. By putting in the effort during this planning and assessment phase, you’ll set a solid foundation for a successful and satisfying restoration experience.
Disassembly and Documentation
Once you’ve assessed the vehicle and created a solid plan, it’s time to move on to disassembly and documentation. This step is vital for any auto restoration service. You’ll start by carefully removing components, ensuring you label and photograph each part for reference. This documentation is essential for a complete auto restoration, as it helps track what needs repair or replacement during the auto body restoration process. As you disassemble, keep a detailed inventory of parts and hardware, noting their condition. This not only streamlines the restoration but also aids in reassembly later. Remember, patience during disassembly pays off, ensuring a smoother shift into the next phases of your project.
Restoration and Repairs
Restoring a vehicle involves meticulous attention to detail as you begin the repair process. You’ll want to gather quality auto restoration supplies to tackle any issues that arise. Depending on the condition of your classic auto restoration project, you might need to focus on structural repairs, bodywork, or engine components.
Auto paint restoration is essential for achieving that showroom finish, so consider using high-grade paint and tools. This stage requires you to assess each part carefully, ensuring everything meets your standards. Whether you’re replacing rusted panels or refurbishing trim, consistency is key. Remember, the goal is to preserve the vehicle’s original charm while enhancing its performance and safety. Take your time, and don’t rush through this important phase of the restoration process.
Reassembly and Finishing Touches
Reassembling your vehicle is where the transformation truly comes to life, as every piece you’ve meticulously restored finds its place. You’ll begin by carefully reinstalling the auto interior restoration components, guaranteeing everything fits perfectly. Pay special attention to details, as they can make or break the final look. Once the interior’s complete, it’s time to apply the auto paint restoration products you’ve chosen, giving your car that showroom finish.
Many auto restoration shops offer guidance during this phase, helping you achieve the best results. Don’t rush; take your time to guarantee each element is precisely where it should be. With patience and care, your vehicle will soon be ready to hit the road, showcasing the hard work you’ve put into the restoration process.
Frequently Asked Questions
How Long Does the Auto Restoration Process Typically Take?
The auto restoration process usually takes several weeks to a few months, depending on the vehicle’s condition and the extent of repairs needed. You should stay in touch with your shop for updates during this time.
Will I Need to Provide Any Parts for the Restoration?
You might need to provide some parts for the restoration, depending on your vehicle’s condition and specific needs. However, most auto shops can source necessary parts, so it’s worth discussing your options with them.
Can I Choose a Custom Color for My Vehicle?
Certainly, you can select a bespoke hue for your vehicle. It’s advisable to consult with the experts, as they’ll guide you through the delightful process of achieving the perfect shade that reflects your style.
What Types of Payments Do You Accept for Restoration Services?
Northwest Auto Collision Center accepts various payment methods for restoration services, including credit cards, debit cards, and cash. You’ll find flexible options to make the process convenient and stress-free for your vehicle’s needs.
How Do You Ensure the Quality of the Restoration Work?
Ensuring quality’s like crafting a masterpiece; you can trust their meticulous attention to detail. They use premium materials, skilled technicians, and rigorous inspections, guaranteeing your vehicle’s restored to peak performance and safety. You’ll be impressed!
Conclusion
To sum up, understanding the auto restoration process empowers you to make informed choices every step of the way. It’s a common belief that restoring a vehicle is just about esthetics, but the truth is, it’s equally about functionality and longevity. By taking the time to assess, document, and restore, you’re not just reviving a car; you’re preserving its story and value. So, plunge in with confidence—your journey to restoration can truly transform your vehicle into something extraordinary!